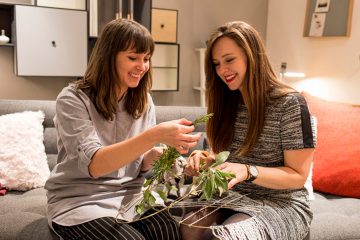
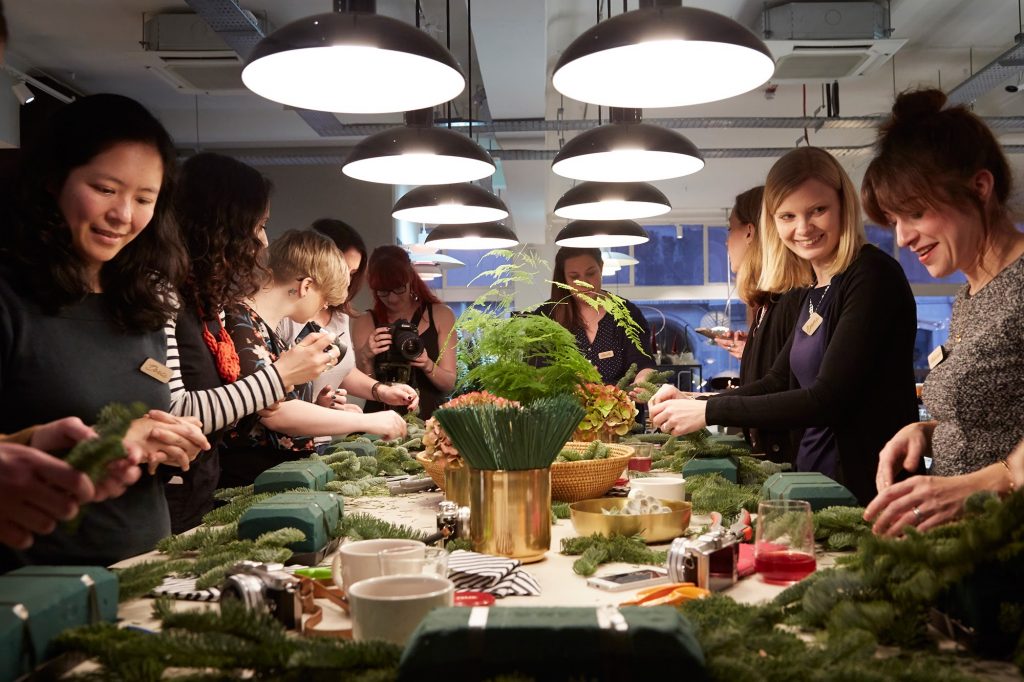
We decided to run a workshop on how to style your dining table for Christmas as there are so many simple yet beautiful ways of doing it. With Interior designer Mathilde, from MK design, as our partner and styling guru we decided that fresh greenery was the key. We invited florist Tom, from Agent F, to demonstrate how to put together a stylish centrepiece whilst we gave you tips on how to give your dining experience that ultimate wow factor!

As Fritz Hansen as our hosts for the day we had plenty of beautiful products to arrange and play with. Plus some DIY creations for the finishing touches.

We started the day with a few Christmas table styling tips:
- Less is more. Select 1-2 colours plus a neutral. This will help tie the table together coherently.
- Trust your instinct and go with what you think looks good. Your style and decor should be an extension of you. Doing this will also make sure your dining table fits with the rest of your home decor.
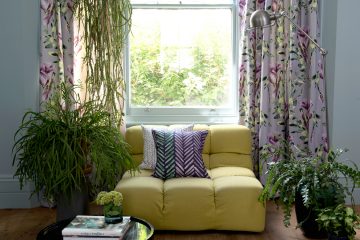
- If you are using pale shades, make sure to add textures to give it depth. This can be done by using rustic napkins and fur rugs thrown on chairs
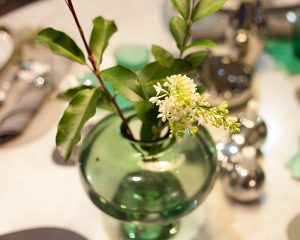
- Go for quality not quantity. Simple monochromes or just a few pieces of stunning glassware could be all you need for a beautiful setting. Especially if you want to go for that Scandi look.
- Think about introducing different heights to your table for diversity. For example vases, cake stands or simply stacking your plates and bowls in the centre.
- Placing fresh foliage on your table not only adds colour but also a wonderful fragrance. It also doesn’t have to be a huge centrepiece, you can simply add a few sprigs of herbs to each napkin as a welcoming aroma for your guests.
- Consider adding potted plants to your table instead of cut flowers. This is a lovely trick you can use all year round.
- Add candles for an extra cosy feel. I personally love a strip of fairy lights down the centre too.
- Use your chairs as an extension of your table by hanging beautiful decorations on the back of it.
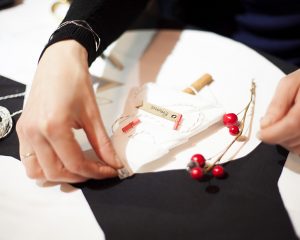
- Personalise each setting with your guests name and napkin. Below are a few images of the napkin folding we taught at our workshop. You can also read our last workshop blog on how to create air dry clay ornaments. Perfect for personalised name settings.


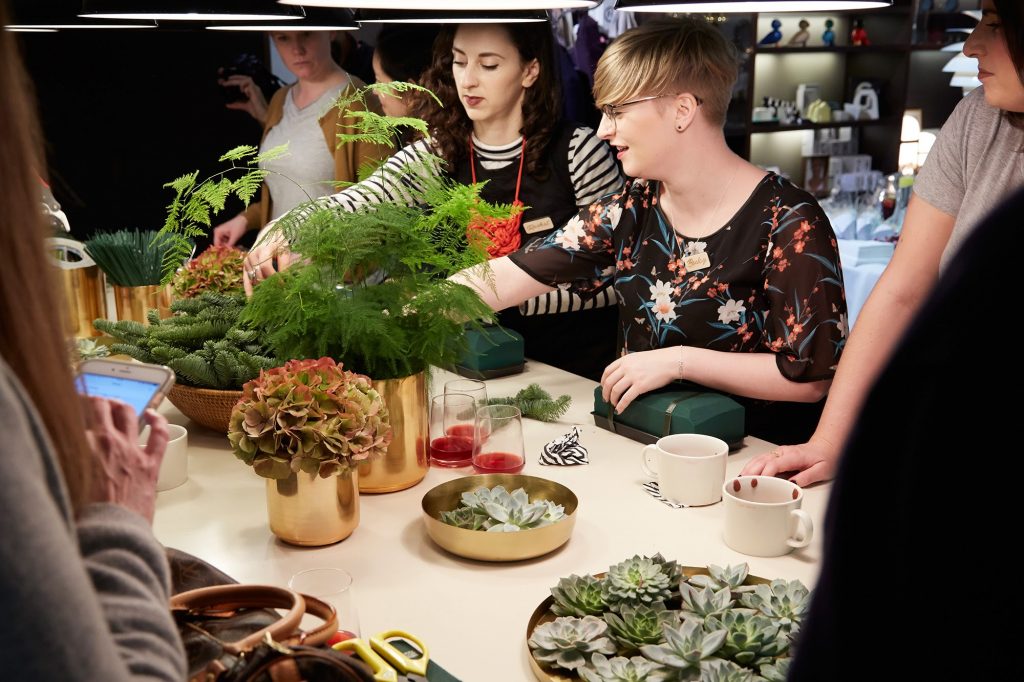
Below are some vital tips from Tom on how to make a statement centrepiece. We used a combination of pine, eucalyptus, thistles and some succulents to give it that modern look.

- Soak your oasis first by letting it float in a bowl of water until it sinks. Do not try to submerge it yourself otherwise you will get air pockets in the center of the oasis.
- Tape your oasis to the tray to ensure it is secure and won’t spill any water.
- Cut the end of your foliage at a diagonal angle to create a sharp point and strip away any leaves 2 inches from the end so you have a bare stalk. This way it will slip into the oasis very easily.

- Start by creating the points of the centerpiece on each side with the pine, using longer pieces at the edges to create a rectangular shape (that’s if you have a square oasis). You want to make sure you cover the tray before adding the rest of the layers.
- Add a few pieces of pine in the top to balance it out before adding the other foliage. Continue to cover the oasis using a mixture of foliage until around 70% is covered.

- Now it’s time for the glamour. We added a touch of gold eucalyptus, berries and of course the latest trend a couple of succulents! These can be attached by threading florist wire through the base. Then bending the wire so you end up with a stem to insert into the oasis.
- Remember ‘less is more’ so you probably only want a few pieces of gold and a couple of succulents. The rule of three is always a good guide if you are unsure on how much to add.
And that was that!
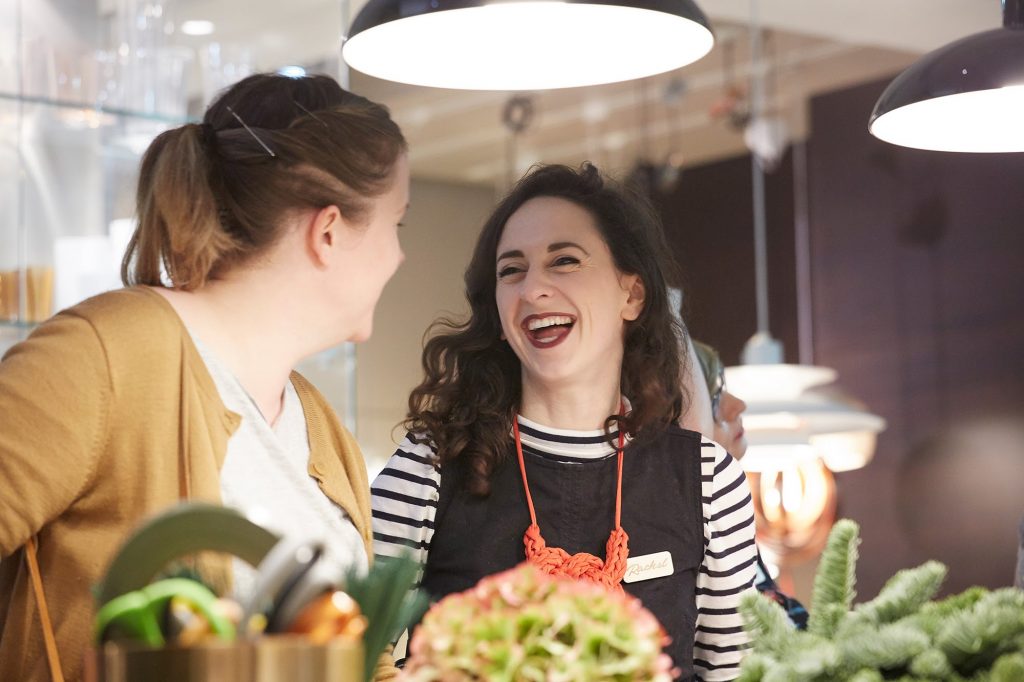
The girls that attended the workshop did such a fantastic job and there was such a wonderful Christmas vibe. I think sipping on festive Glogg and eating the stunning treats from Nojo and cake and cucumber added to this. If you’re planning a party or just want some delicious gluten free food I would highly recommend them.
We wanted to make sure this was one of our best workshops yet, so made sure our favourite brands were involved. Ola jewelry, Mind the cork, Tom Pigeon, Jollysmith, The nomad Society, Nuori skinscare, Kay Bojesen, Muubs, A l’aise stationery, Iris Hantverk and Haws watering cans all provided stunning products for our goodie bags. Thank you for making our participants feel extra special!
A big thank you to everyone who came to our workshop, to Skandium and Fritz Hansen for hosting us, to Tom for the flower arranging and especially Mathilde for working with me side by side in making this one of the most special workshops ever!
Xox
Photographs by Meg Lavender and Mathew Pull